# 解決搭建時卡在 Entering fakeroot environment RUN pacman -U --noconfirm https://archive.archlinux.org/packages/f/fakeroot/fakeroot-1.34-1-x86_64.pkg.tar.zst
# 創建用戶以非 root 身份執行 yay RUN useradd -m user && \ echo "user ALL=(ALL) NOPASSWD: ALL" >> /etc/sudoers
USER user WORKDIR /home/user
# 安裝 yay RUN git clone https://aur.archlinux.org/yay.git && \ cd yay && \ makepkg -si --noconfirm
# 使用 yay 安裝插件 RUN yay -S --noconfirm vapoursynth-plugin-lsmashsource RUN yay -S --noconfirm vapoursynth-plugin-fmtconv-git RUN yay -S --noconfirm vapoursynth-plugin-eedi2-git RUN yay -S --noconfirm vapoursynth-plugin-neo_f3kdb-git RUN yay -S --noconfirm vapoursynth-plugin-addgrain-git RUN yay -S --noconfirm vapoursynth-plugin-awarpsharp2-git RUN yay -S --noconfirm vapoursynth-plugin-bm3d-git RUN yay -S --noconfirm vapoursynth-plugin-nnedi3-git RUN yay -S --noconfirm vapoursynth-plugin-nnedi3_weights_bin RUN yay -S --noconfirm vapoursynth-plugin-nnedi3_resample-git RUN yay -S --noconfirm vapoursynth-plugin-sangnom-git RUN yay -S --noconfirm vapoursynth-plugin-tcanny-git RUN yay -S --noconfirm vapoursynth-plugin-mvtools-git RUN yay -S --noconfirm vapoursynth-plugin-retinex-git RUN yay -S --noconfirm vapoursynth-plugin-fluxsmooth-git RUN yay -S --noconfirm vapoursynth-plugin-bwdif-git RUN yay -S --noconfirm vapoursynth-plugin-cas-git RUN yay -S --noconfirm vapoursynth-plugin-ctmf-git RUN yay -S --noconfirm vapoursynth-plugin-dctfilter-git RUN yay -S --noconfirm vapoursynth-plugin-deblock-git RUN yay -S --noconfirm vapoursynth-plugin-dfttest-git RUN yay -S --noconfirm vapoursynth-plugin-fft3dfilter-git RUN yay -S --noconfirm vapoursynth-plugin-hqdn3d-git RUN yay -S --noconfirm vapoursynth-plugin-knlmeanscl-git RUN yay -S --noconfirm vapoursynth-miscfilters-obsolete-git RUN yay -S --noconfirm vapoursynth-plugin-removegrain-git RUN yay -S --noconfirm vapoursynth-plugin-znedi3-git RUN yay -S --noconfirm vapoursynth-plugin-vsdenoise-git RUN yay -S --noconfirm vapoursynth-plugin-vstaambk-git RUN yay -S --noconfirm vapoursynth-plugin-havsfunc RUN yay -S --noconfirm vapoursynth-plugin-adjust-git
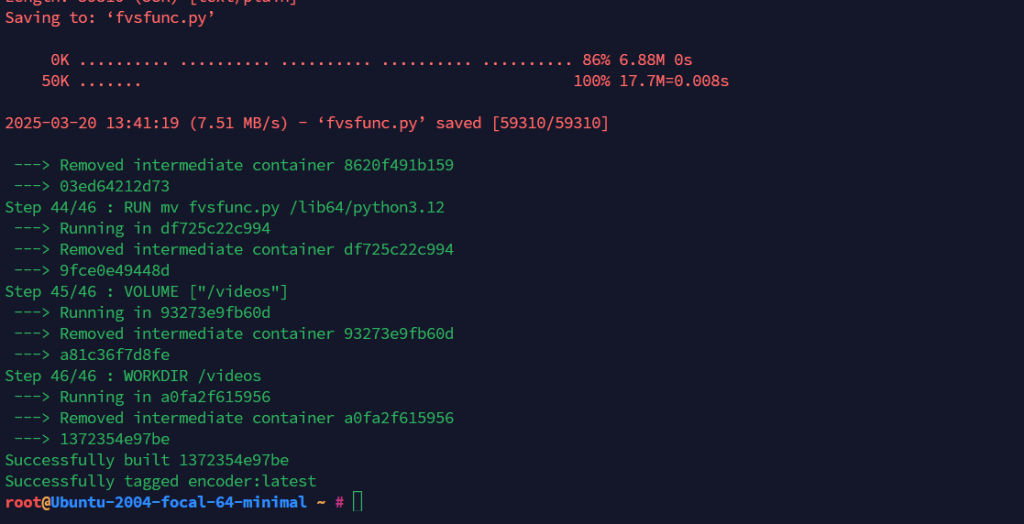
USER root RUN wget https://raw.githubusercontent.com/Irrational-Encoding-Wizardry/kagefunc/refs/heads/master/kagefunc.py RUN mv kagefunc.py /lib64/python3.13 RUN wget https://raw.githubusercontent.com/Irrational-Encoding-Wizardry/fvsfunc/refs/heads/master/fvsfunc.py RUN mv fvsfunc.py /lib64/python3.13 RUN wget https://github.com/HomeOfVapourSynthEvolution/mvsfunc/archive/refs/tags/r10.zip RUN unzip r10.zip RUN mv mvsfunc-r10/mvsfunc.py /lib64/python3.13
VOLUME ["/videos"] WORKDIR /videos
如果需要裝其他濾鏡或其他編碼器,可以到 AUR 找,然後自行加入到 yay 安裝那裡就行 (RUN yay -S –noconfirm 套件名),不過有些套件安裝會報錯。
貼好之後存檔退出。
3. 建立容器
1
docker build -t encoder .
這個指令會:
根據 Dockerfile 建立映像檔
-t encoder 代表為映像檔取名 encoder
. 代表目前目錄
視機器性能及網速,可能會跑10分鐘以上。
如果跑完看到類似畫面就是建立成功。
4. 使用 screen 來掛著壓制中的 Docker
如果沒裝 screen 可以使用下方指令安裝
1
apt install screen -y
建立 screen 會話
1
screen -S encoder
進入後繼續下一步
5. 進入 Docker 容器(your/video/dir 改成你放影片文件的目錄)
1
docker run --privileged -v /your/video/dir:/videos -it --rm encoder